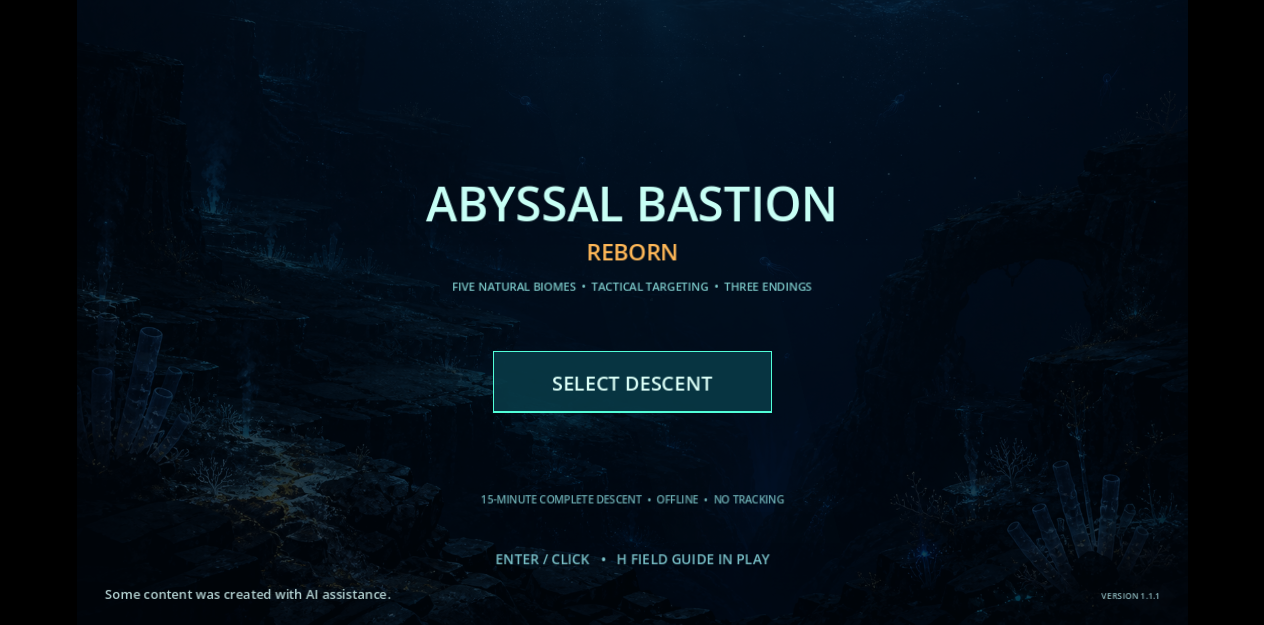
In Abyssal Bastion: Reborn, an approaching contact is both a threat and a possible source of repair. Harpoon reduces structural health; Recovery instead builds resonance on an exposed contact. Those two responses solve different problems. If you fire every available module as soon as it lights up, you can spend Alloy before there is a useful target.
1. Watch the contact before committing
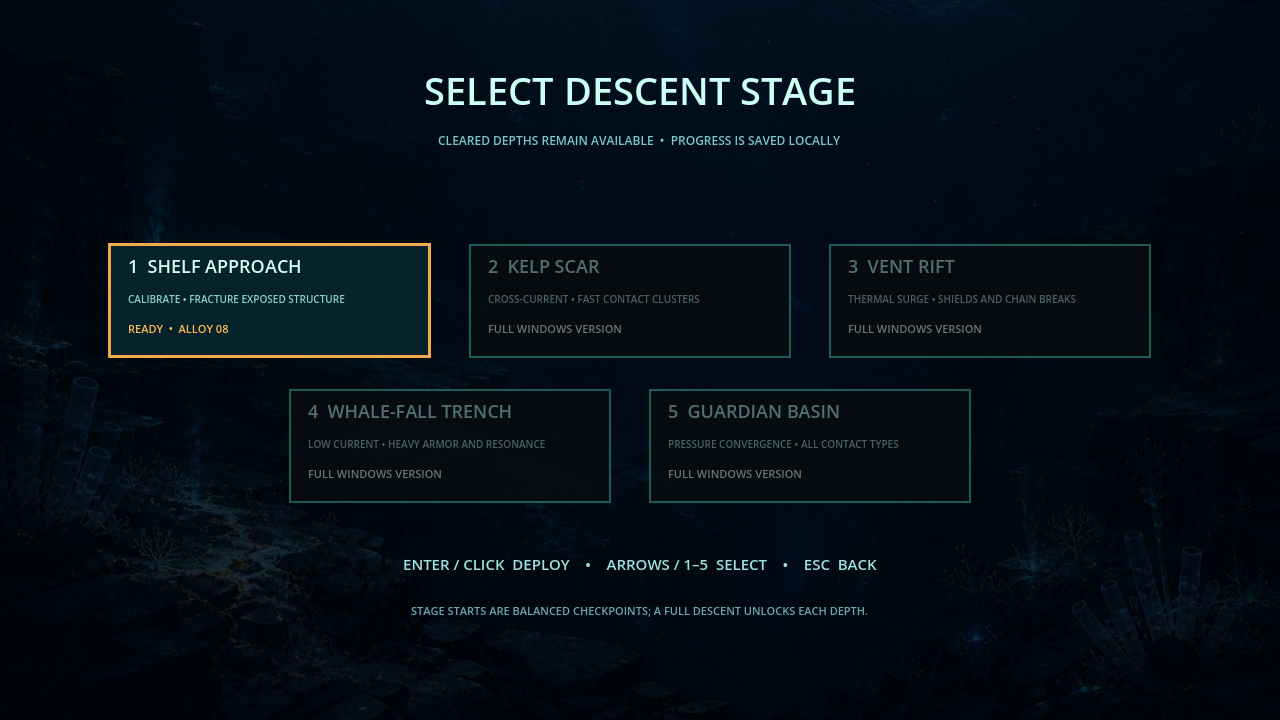
Stage 1 begins with 8 Alloy. Harpoon is already deployed, so use the opening moments to understand the contact display. Sonar initially costs 1 Alloy; Arc and Recovery initially cost 2 each. These are initial deployment costs, not a promise that every later action is free. Avoid activating a module into an empty lane: the game can spend the deployment resource even when no contact benefits.
2. Use Sonar for a specific purpose
Sonar exposes active contacts for 4 seconds. Exposure lets Harpoon deal double structural damage, but also enables Recovery to add resonance. Choose whether the immediate problem is a dangerous surviving contact or missing core health. Arc helps against shields and armor and can affect up to three active contacts; it is useful when defenses are preventing ordinary damage from doing enough.
3. Renew exposure for the second recovery
Recovery adds 55 resonance to an exposed contact, and harmonization requires 100. One use is therefore insufficient. Recovery’s 5-second cooldown is longer than Sonar’s 4-second exposure window. Renew Sonar and check that the contact is still present before the next Recovery. Successful harmonization restores 1 core health, up to the maximum of 20.
Recovery targets the first active contact, which may differ from the contact you selected for Harpoon. If a sequence fails, check target order, exposure and contact lifetime before spending more Alloy. Pause with H to consult the in-game field guide, then practice the sequence in the free Stage 1 demo.