Desktop strategy · Official player guide
Abyssal Bastion: Reborn
Hold the Pelagos Gate through a fifteen-minute descent. Learn when to break a defense, when to expose it, and when Recovery is a better choice than another shot.
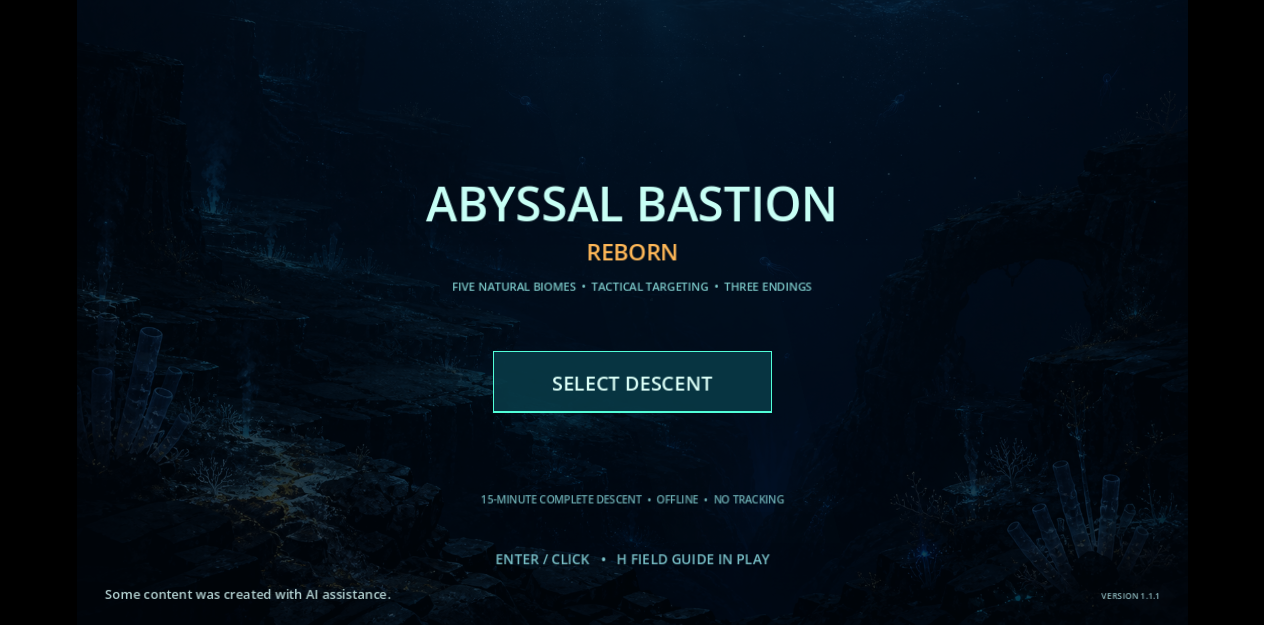
Choose the right edition
The free browser demo includes Shelf Approach, the first stage. Reaching its end shows a demo-complete screen; the remaining stages require the Windows edition. The Windows download on itch.io has a minimum price of US$2.99 and includes all five stages. The page may also show an optional suggested donation. The file minimum is the amount required for the Windows download.
This is a desktop game. Use a keyboard and mouse in the browser or download the Windows edition for offline play. The game has no advertising, accounts, analytics, or in-game purchases. Browser storage and Windows saves belong to their own environments; there is no cloud synchronization between them.
A first run with a clear objective
- Choose Select Descent, then Shelf Approach. A new profile starts with the first stage available.
- Read the Core indicator and follow the contacts along the route. Your task is to protect the fortress, rather than steer a character around the screen.
- Click a contact to make it the Harpoon priority. Click it again to clear that priority.
- Press 2 when contacts are present to expose them with Sonar. Watch the exposure feedback, then compare the Harpoon result with an unexposed target.
- Open the field guide with H when you need to review a rule; it pauses the action. Esc opens the pause controls.
The first minute has an onboarding seal that protects the Core. Use that interval to learn the module keys and read the route. After the seal ends, contacts reaching the Core become a survival problem. Focus on one decision at a time: a dangerous contact, a useful exposure window, or a defense that needs stripping.
Four modules, distinct jobs
Alloy pays for a module's first deployment. Reusing an already deployed module does not charge its initial cost again; its cooldown still applies. Harpoon starts deployed. In ordinary contact combat, Sonar, Arc, and Recovery need an active contact for their effect. Avoid spending a first deployment during an empty route.
On a narrow screen, swipe the table sideways to see each effect. Keyboard users can focus the table and use the arrow keys.
| Module | First deployment | Reuse | Effect |
|---|---|---|---|
| 1 · Harpoon | Already deployed | Automatic firing | 34 base structural damage; doubled while the contact is exposed. Shield and armor affect how much reaches the hull. |
| 2 · Sonar | 1 Alloy | 4.5 seconds | Exposes active contacts for 4 seconds. |
| 3 · Arc | 2 Alloy | 3.5 seconds | Affects up to 3 active contacts: removes their shields, reduces armor by up to 30, then applies 12 structural damage. |
| 4 · Recovery | 2 Alloy | 5 seconds | Adds 55 resonance to the first active contact if it is exposed, and restores 1 Core point up to the 20-point maximum. |
Use timing instead of pressing everything
Sonar, then Harpoon: break an urgent threat
Sonar's four-second exposure doubles the Harpoon's structural damage. Choose a dangerous contact as the Harpoon priority, then expose it while it is still within the fight. Damage is not the same as an immediate hull reduction: shields absorb damage first, and armor can absorb part of what remains. Use the target's hull, armor, and shield readout to understand why a shot did not finish it.
Arc: prepare a defended group
Arc is useful when several shielded or armored contacts are active. It chains to at most three contacts. It does not promise to hit every contact on the route, and the priority click is specifically a Harpoon targeting control. After Arc strips defenses, let Harpoon work against the more vulnerable structure. Save another Arc activation for the next defended group rather than an empty route.
Sonar, then Recovery: build resonance
Recovery adds resonance only while its contact is exposed. One application adds 55 toward the 100-point threshold, so an untouched contact needs two successful applications to harmonize. Recovery's five-second cooldown is longer than Sonar's four-second exposure: renew Sonar before the second Recovery. Also check that the original contact is still active. In version 1.1.1, Recovery acts on the first active contact, not necessarily the one clicked for Harpoon priority.
These are practice patterns, not guaranteed winning sequences. A contact can move out, be destroyed, or reach the Core while you wait. Compare the risk of preserving a target for resonance with the need to remove an immediate threat.
What changes across the descent
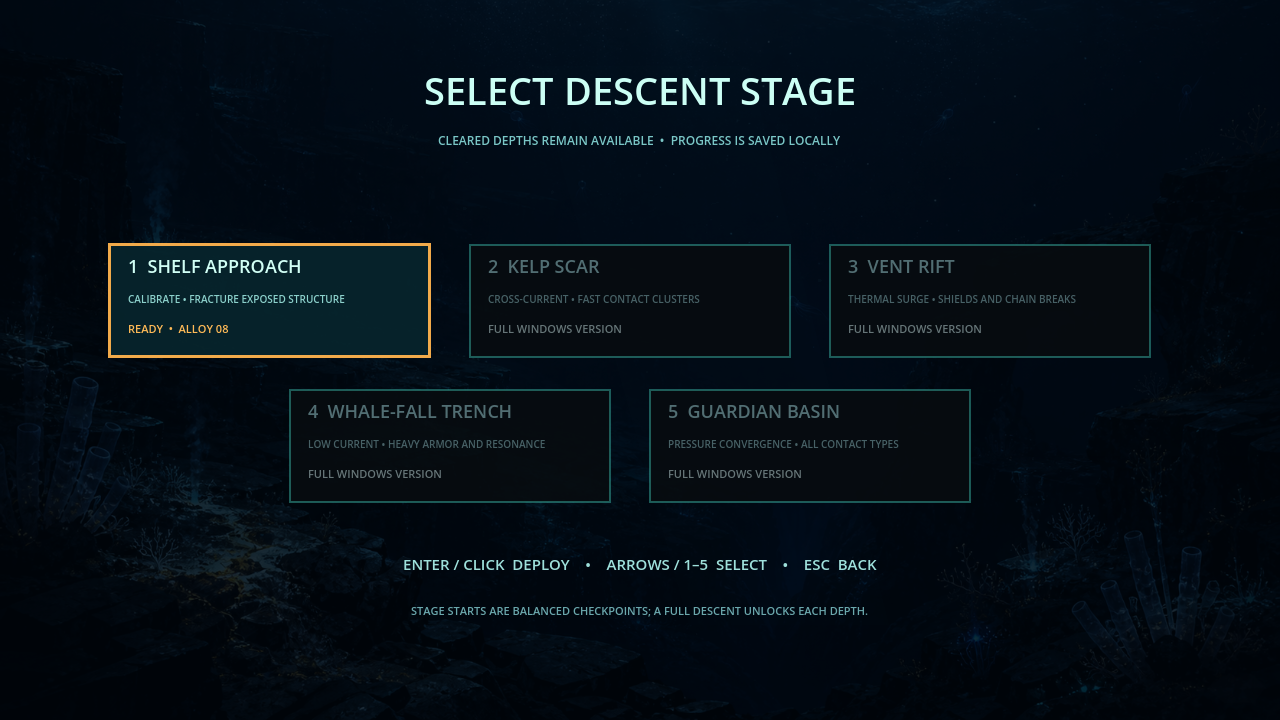
The full descent advances through five three-minute stages. Clearing depth unlocks later stage starts locally. Starting a later stage uses a balanced checkpoint with its own starting Alloy; it is different from restoring every detail of a saved run.
- Shelf Approach: learn Harpoon priority and exposure against Skitters; starting Alloy 8.
- Kelp Scar: faster contact clusters add Lantern Mites alongside Skitters; starting Alloy 10.
- Vent Rift: Lantern Mites and Choir Rays put more emphasis on shields and chain breaks; starting Alloy 12.
- Whale-Fall Trench: Pressure Crabs and Shell Bearers make heavy armor and resonance more relevant; starting Alloy 14.
- Guardian Basin: all contact types appear, and the Guardian enters near the end; starting Alloy 16.
In the Guardian's dialogue phase, the modules change purpose: Sonar supports containment, Recovery supports harmony, and Harpoon or Arc support destruction. Observe the Guardian state before interpreting a module effect as ordinary contact damage. The ending depends on the interaction, rather than a menu choice on the title screen.
Controls and comfort
- Mouse: choose a module or set and clear a contact's Harpoon priority.
- 1–4: select and activate a module. Space: repeat the selected module.
- H: open or close the pausing field guide. Esc: pause or resume.
- F: save the current campaign. Look for the SAVED confirmation.
- Stage selection: arrow keys or number keys choose an available stage; Enter deploys.
- Pause options: R changes reduced motion, Tab changes effect strength, and S changes recoil. M, V, and B adjust music, effects, and ambience.
Visual labels and state indicators carry the essential rules; you do not need to rely on sound alone. If movement or flashes are tiring, pause and adjust the presentation before continuing.
Saves, downloads, and common questions
Why are later stages locked in my browser?
The Web edition is a Stage 1 demo. Reaching the end is expected demo behavior. The Windows edition contains the complete descent.
Why did Recovery not harmonize a contact?
Check exposure, resonance, and which contact is first in the active list. Two exposed Recovery applications are needed from zero resonance. Renew Sonar because the exposure expires before Recovery becomes ready again.
Why is my browser progress missing?
Progress uses local browser storage. Another browser, another profile, private browsing, or cleared site data can present a different save. There is no account-based cloud recovery. Avoid clearing site data when you want to retain progress.
How do I run the Windows download?
Download the Windows ZIP from itch.io, extract it to a folder you can write to, and run AbyssalBastionReborn-1.1.1.exe. The ZIP also includes release notes and notices. This release is unsigned; use the official store download and your normal Windows security checks.
What should a useful bug report include?
Send the game version, Windows or browser edition, current stage, last action, and the message shown on screen. For save problems, mention whether you changed profiles or cleared storage. Do not send passwords, payment details, or unrelated personal files. Use the official Support page.
How this guide was checked
This guide was prepared from the studio's version 1.1.1 module rules, stage definitions, release records, and actual build captures. The existing release checks covered module effects, save recovery, keyboard input, stage selection, the Web demo boundary, and a full-descent simulation. Practice recommendations are separated from exact costs and timers above. Updates or corrections should identify the edition and version so the guide can follow the game.